![MetaOptima Logo.png]](https://help.dermengine.com/hs-fs/hubfs/External%20Marketing%20Resources%20Folder/Logos/MetaOptima%20Logos/MetaOptima%20Logo.png?height=40&name=MetaOptima%20Logo.png)
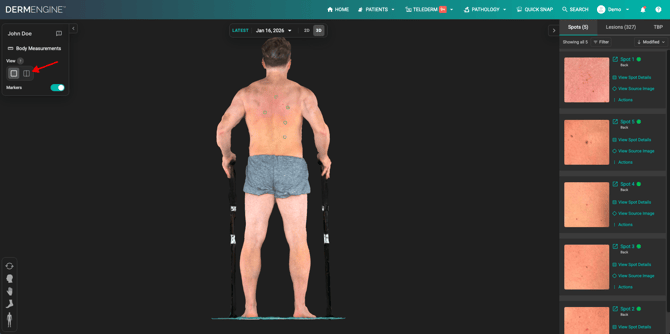
DermEngine makes it easy to compare total-body images and now Comparison View is available for the 3D models of patients. To begin, follow the instructions below:
- By default, you will be in Single View mode. To change this, click the Comparison View button. DermEngine will automatically select the last two models to compare side by side.
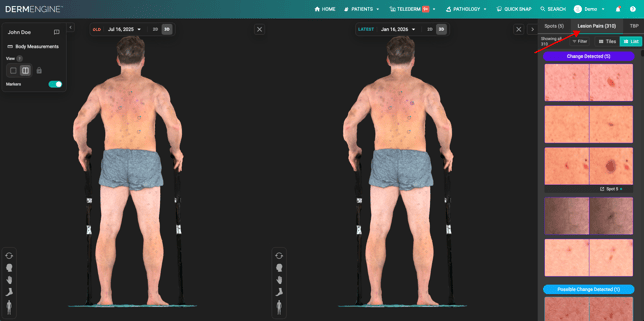
- Now you've entered the Comparison View mode. Navigate directly or on the right-side to the Lesion Pairs panel.
- On the right-side panel, the lesions are organized by change value. First,
you will see pairs of lesions that have "Change Detected" in purple, then "Possible Change Detected" in blue, and "No Change Detected" in grey.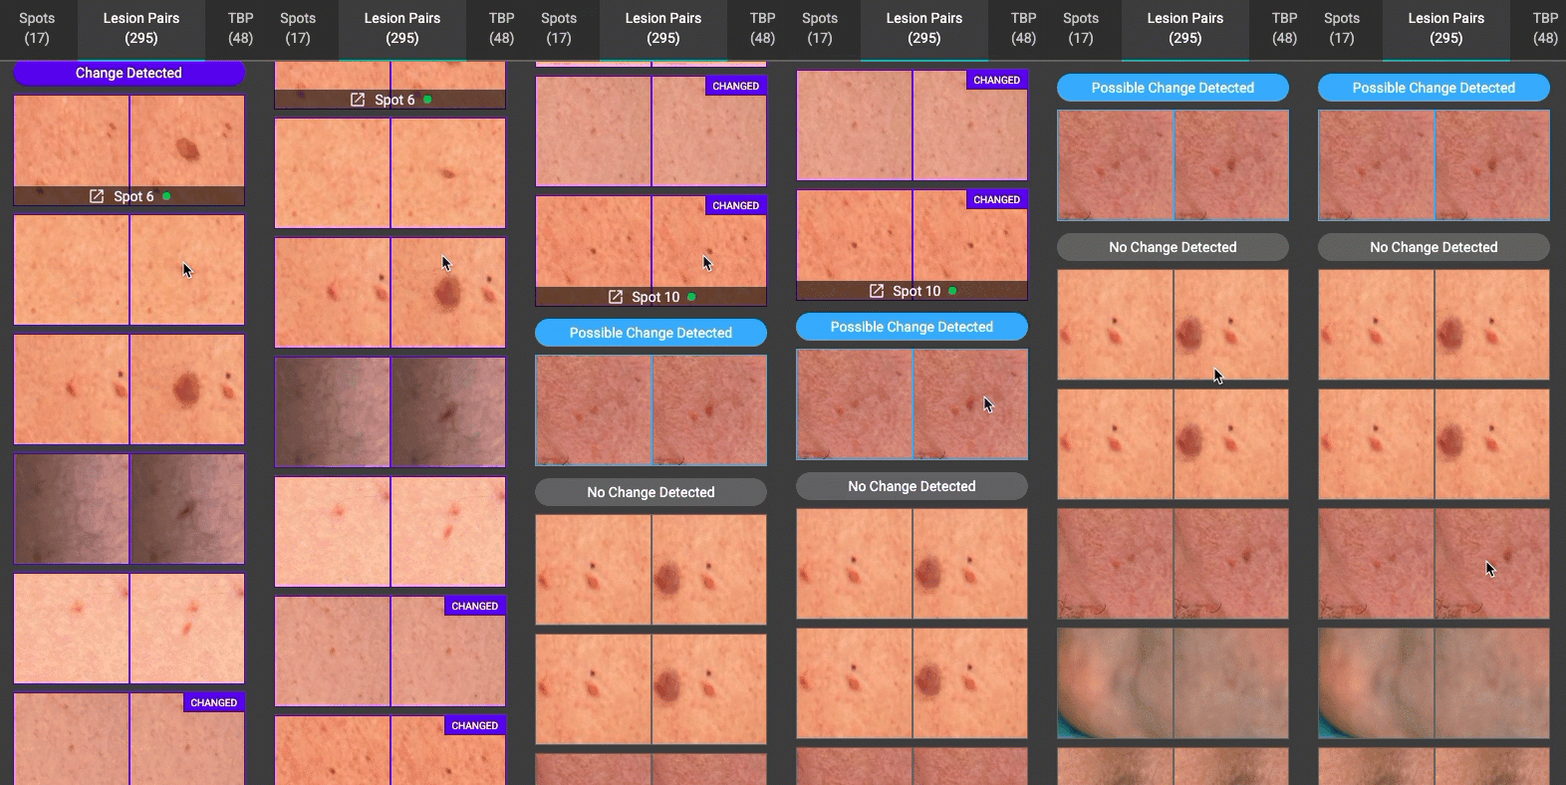
- Navigate lesion spots using this right-side panel or directly on the model.
- On the right-side panel, the lesions are organized by change value. First,
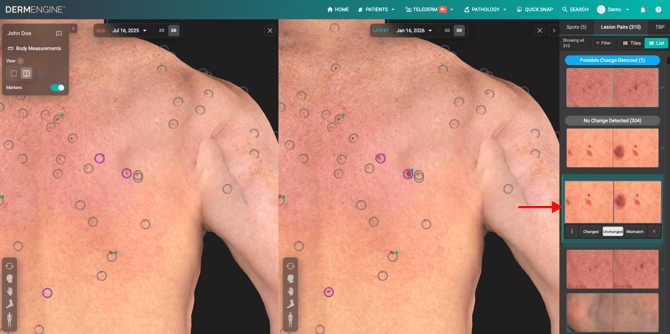
- To get a better look at a spot, you can use the paired slider or scroll with your mouse to get a magnified view of both models.
- To review lesions in a grid, click the "Tiles" option.
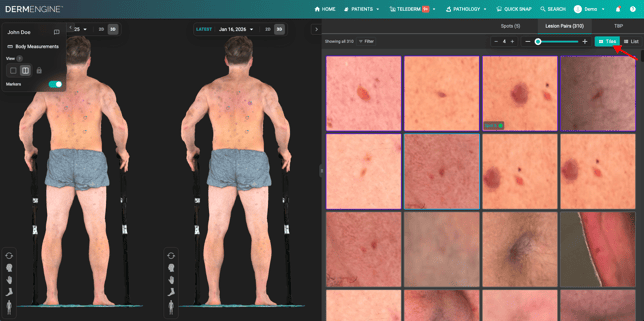
- You can adjust the number of tiles per row, zoom in for detail, and right-click any tile for its actions.
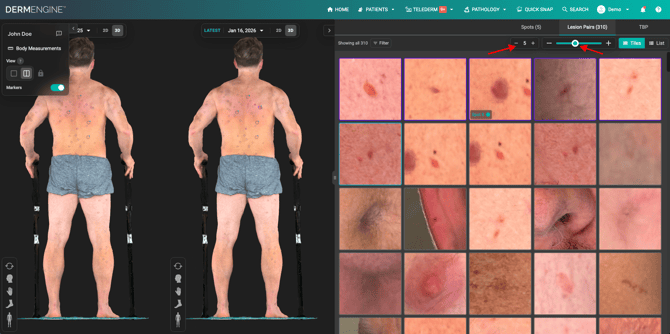
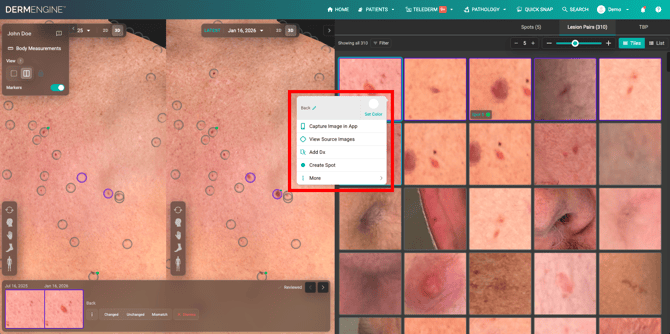
- Review lesion pairs in a grid. Each tile shows the latest visit and is outlined in its change-status colour. Select a tile to compare both visits side by side.
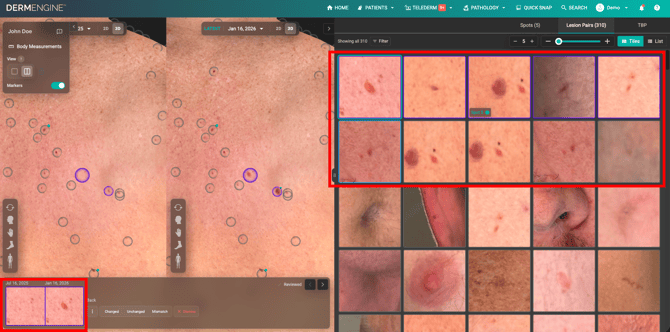
- Mark pairs as "changed" or "unchanged" with one click in both List and Tiles view. Use "mismatch" when the images aren't the same lesion, or "dismiss" when the pair isn't relevant to the comparison. Both can be undone. A check mark on reviewed pairs lets you easily pick up where you left off.