![MetaOptima Logo.png]](https://help.dermengine.com/hs-fs/hubfs/External%20Marketing%20Resources%20Folder/Logos/MetaOptima%20Logos/MetaOptima%20Logo.png?height=40&name=MetaOptima%20Logo.png)
DermEngine streamlines the TBP mapping process by making lesion mapping more informative and reducing the need for manual spot placement on the 3D model.
Users can more easily review lesions and their corresponding locations as part of the mapping workflow.
1. View and Manage Lesions on Body Photos
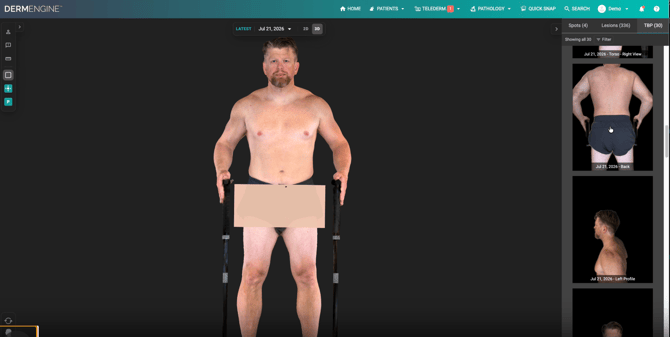
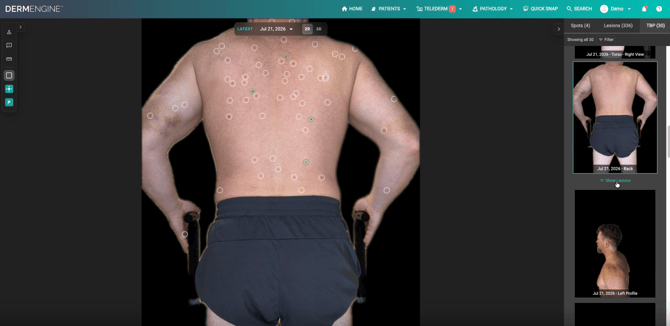
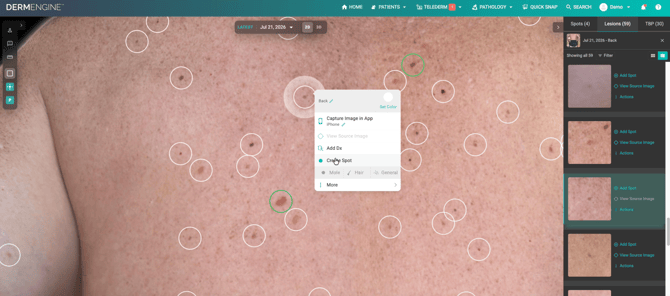
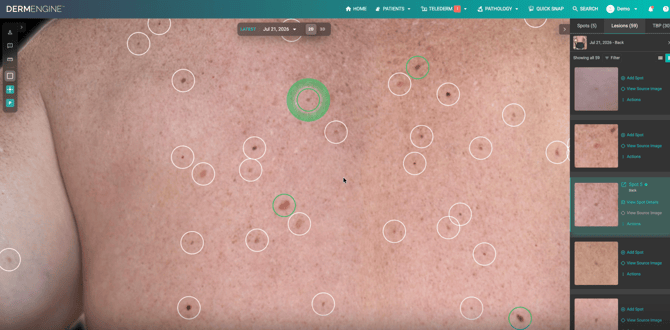
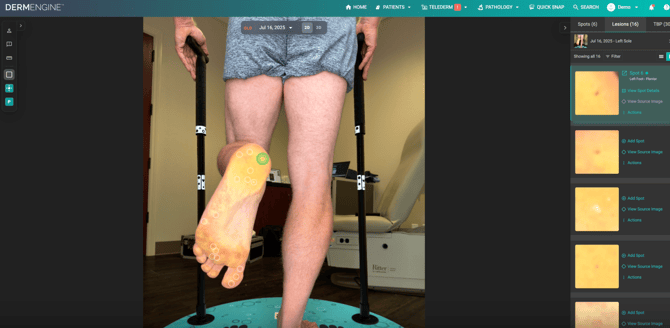
Users can now open a scan's 2D body photo directly from the 3D Models page and view the lesions detected on that image.
From the 2D TBP photo, users can:
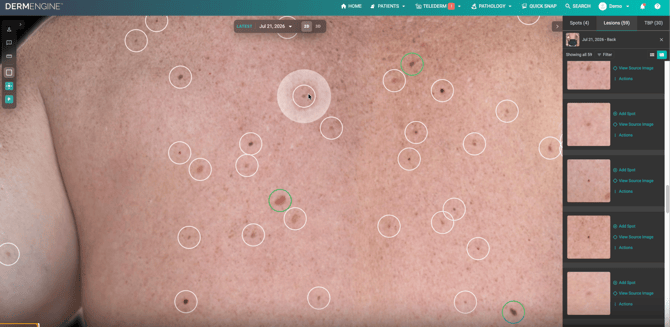
- View detected lesions displayed directly on the TBP image.
- Filter the lesion list to show lesions associated with the selected body photo.
- Create a new spot from a detected lesion or link the lesion to an existing spot.
- Merge lesions with existing spots where appropriate.
- Add lesions manually if they were not identified by the automated detection.
- Continue reviewing and managing lesions while the 3D model is still generating.
When creating a spot from a lesion on a 2D body photo, users do not need to manually place it on the 3D model. DermEngine will automatically suggest its placement on the 3D model using the available information. If a baseline 3D model is not available, the suggested placement will still be displayed on the body map
This allows users to continue working with their scan without needing to wait for the 3D model to finish generating.
2. Easier Access to Supplementary Images
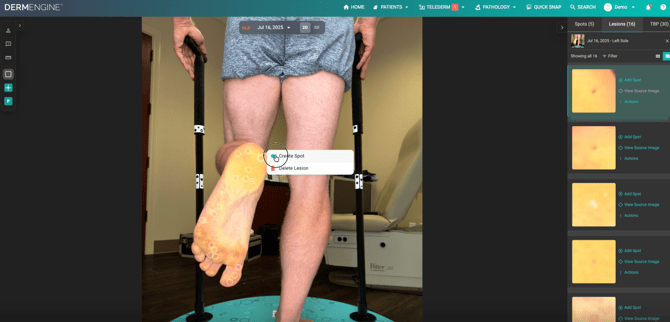
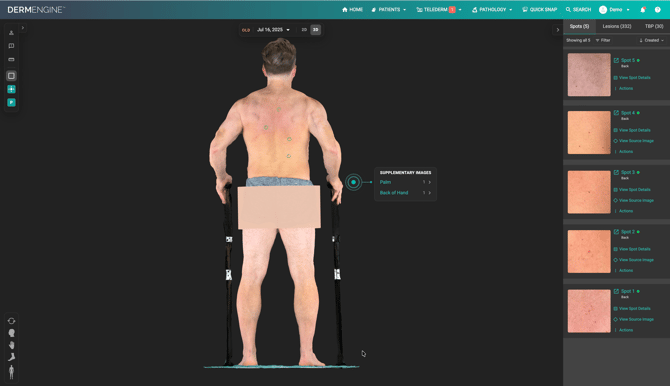
Users can now access supplementary images, such as close-up photos of the hands, feet, soles, face, underarms, and other body areas, more easily.
Users can now access supplementary images, such as close-up photos of the hands, feet, soles, face, underarms, and other body areas, more easily.
When supplementary images are available:
- Hover over the relevant body area on the 3D model.
- A beacon will appear to indicate that additional images are available.
- A short list of supplementary images will be displayed.
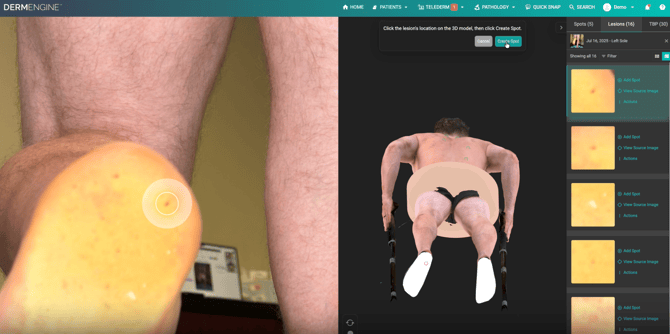
- Select an image to open it alongside the 3D model.
Please note: This option is only available for body areas where supplementary images have been captured.
When viewing supplementary images in comparison view, selecting a lesion will also display the corresponding 3D model, allowing users to view its location in relation to the 3D body model. This behavior applies specifically to comparison view.
3. Clearer Spot Selection and Dermoscopic Previews
We've also made improvements to the spot tile view under the lesion tab to make reviewing and selecting spots easier.
- Clearer selected spot: The currently selected spot tile is now easier to identify.
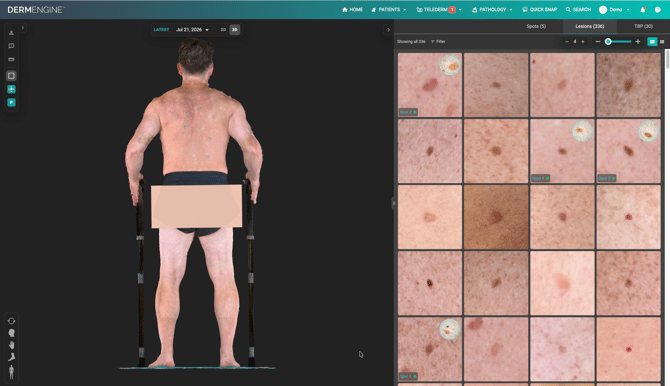
- Dermoscopic image preview: Spot tiles containing a dermoscopic image will display a small preview circle.
- Quick access: Selecting the preview circle opens the corresponding spot with its dermoscopic image.
These changes make it easier to identify spots with dermoscopic images and quickly access them during review.