Web
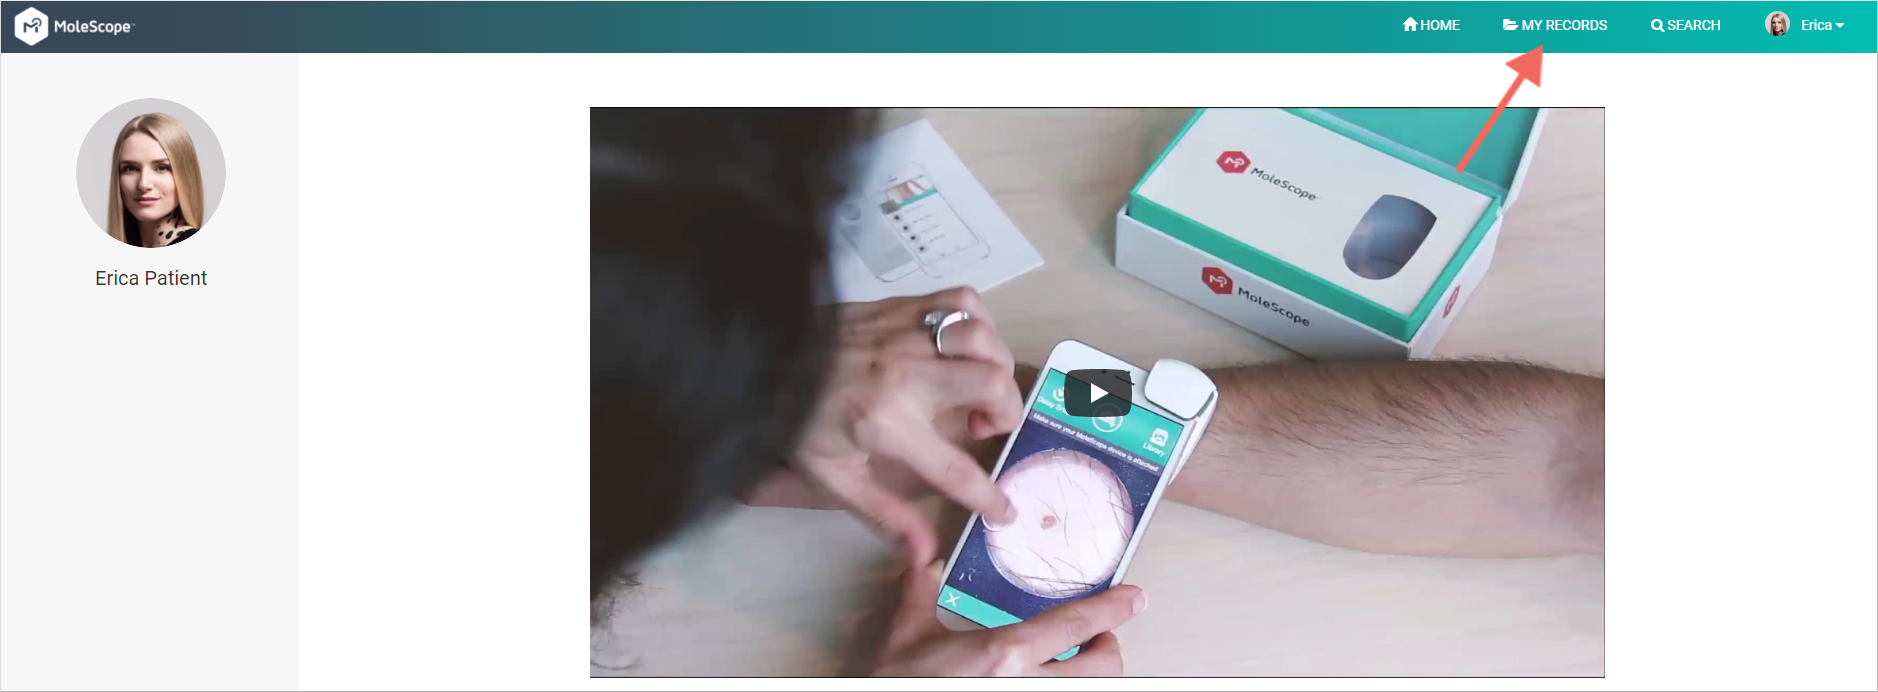
- Log in to your account at MoleScope and click 'My Records' in the top menu bar.
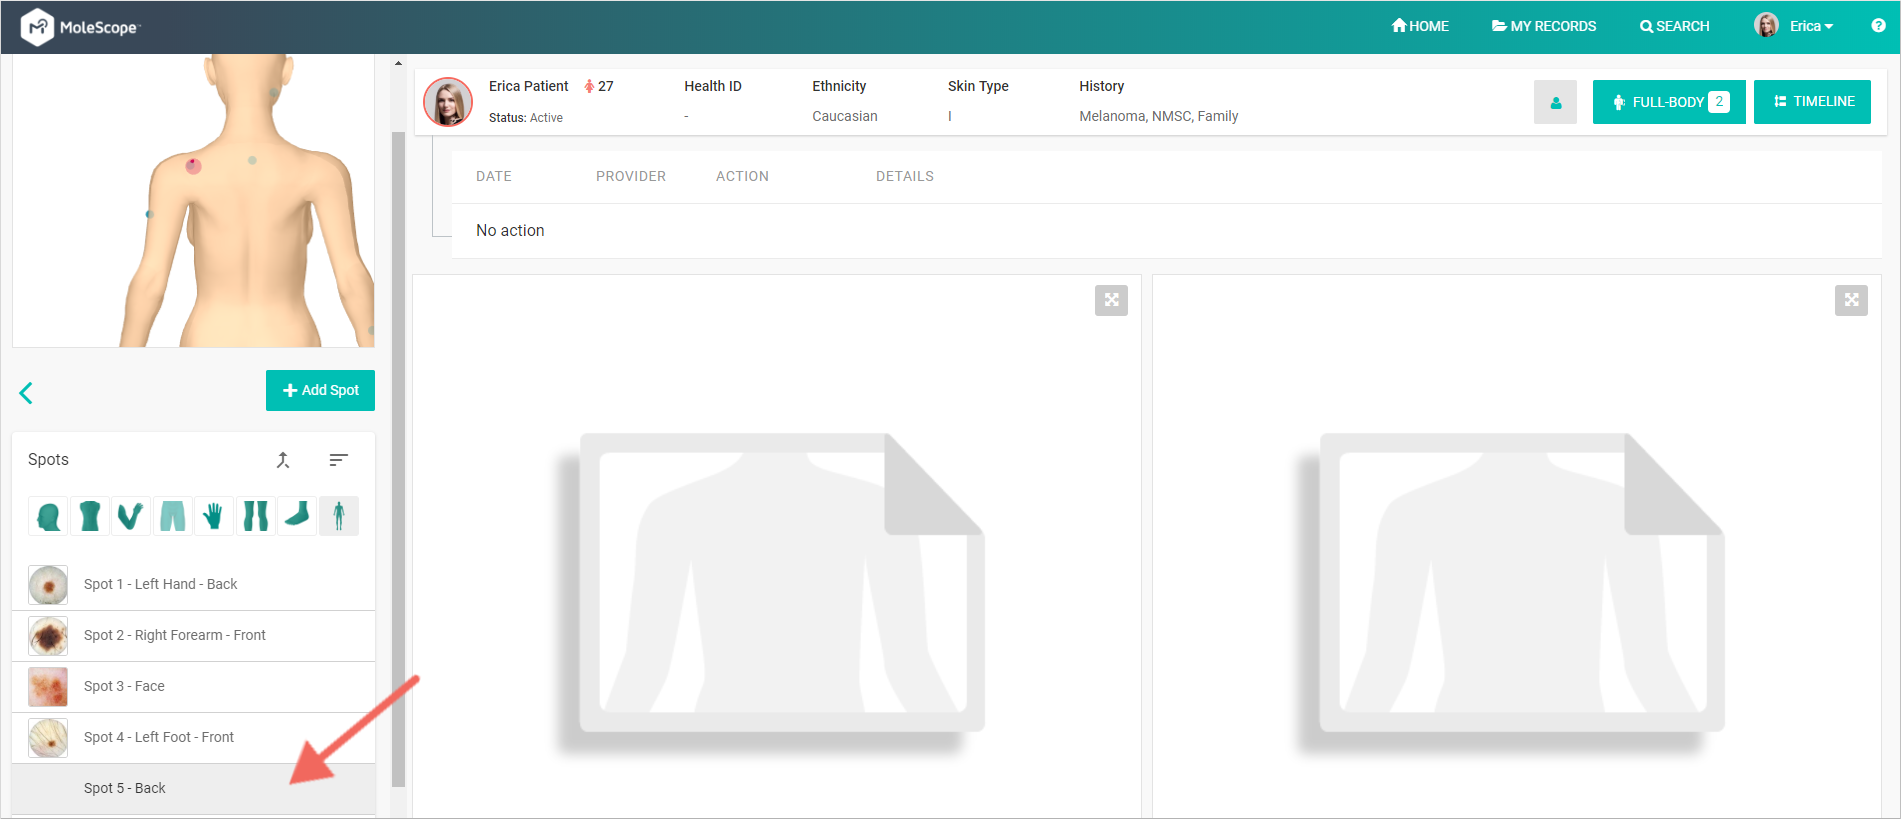
- Select which spot you would like to assign an image to by clicking it in the Spot List on the left side. To learn how to add a spot, click here.
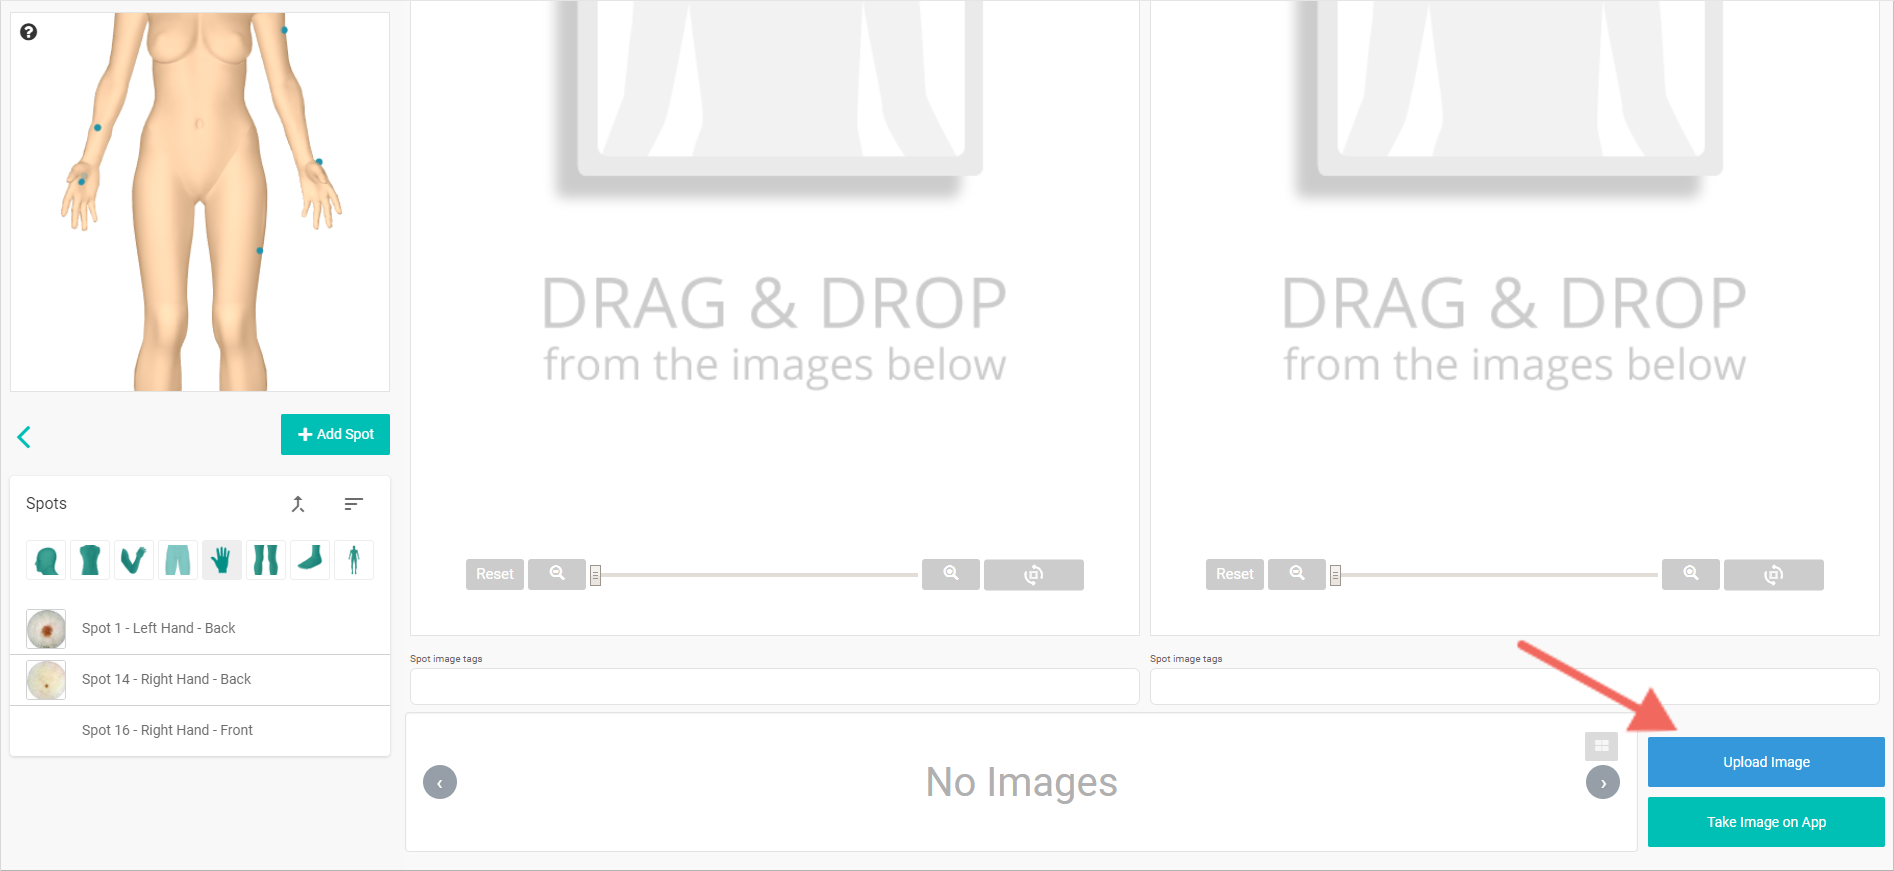
- Click Upload Image.
- You can upload PNG, PDF, JPEG, and HEIC files.
- You can upload PNG, PDF, JPEG, and HEIC files.
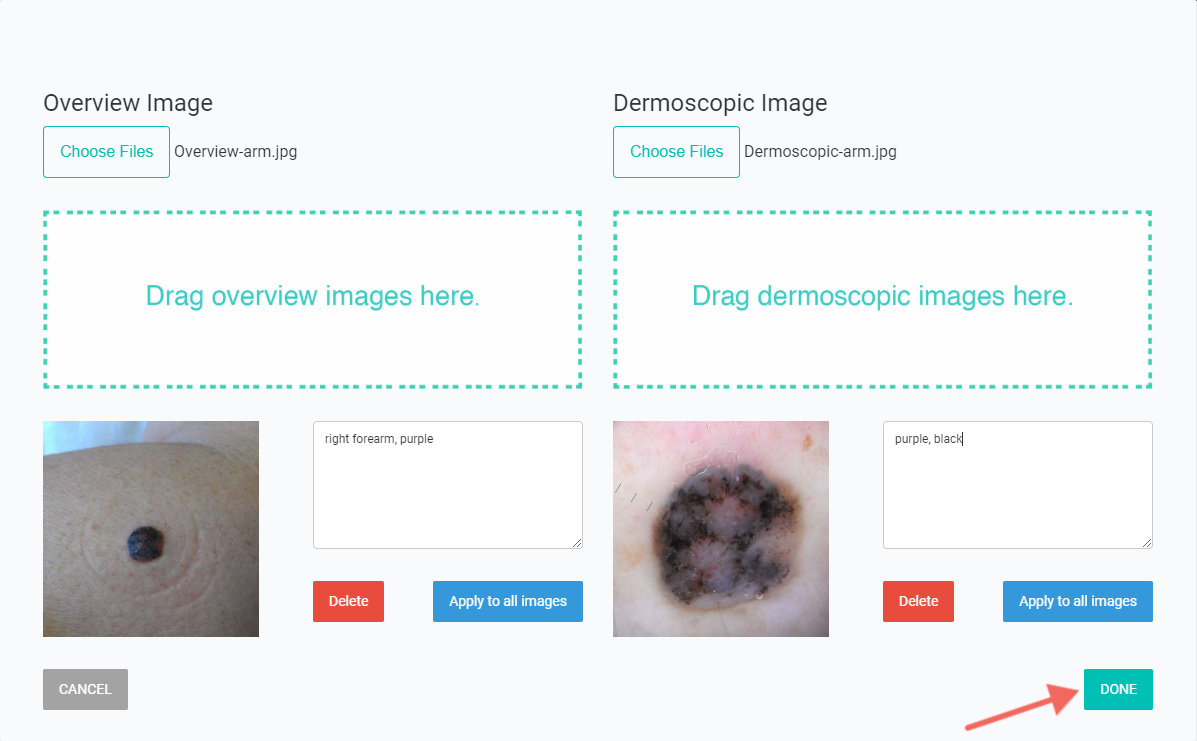
- Here, you have the option of dragging and dropping images or clicking 'Choose Files' button to upload your images.
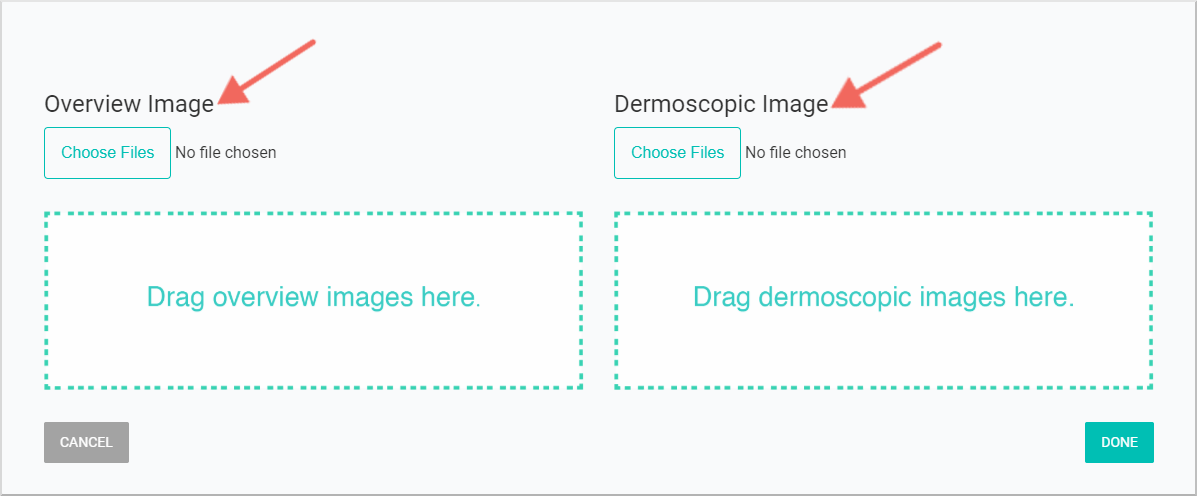
- Be sure to add overview images (images taken with your smartphone) and dermoscopic images (magnified images taken with a MoleScope or other dermoscope) to the respective categories. When ready, click 'Done'.
To learn how to submit a spot for consultation, click here.
iOS
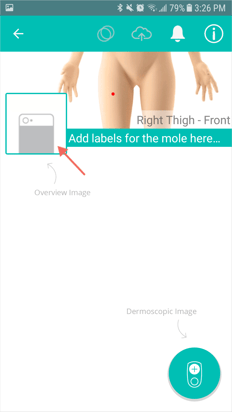
- Once you have finished adding your spot, it's time to add your images. From your Spot Profile, tap the Overview Image button in the top left corner.
- A prompt will appear requesting that MoleScope have access to your existing photos and camera so that you may add existing or new images to the app. Tap OK.
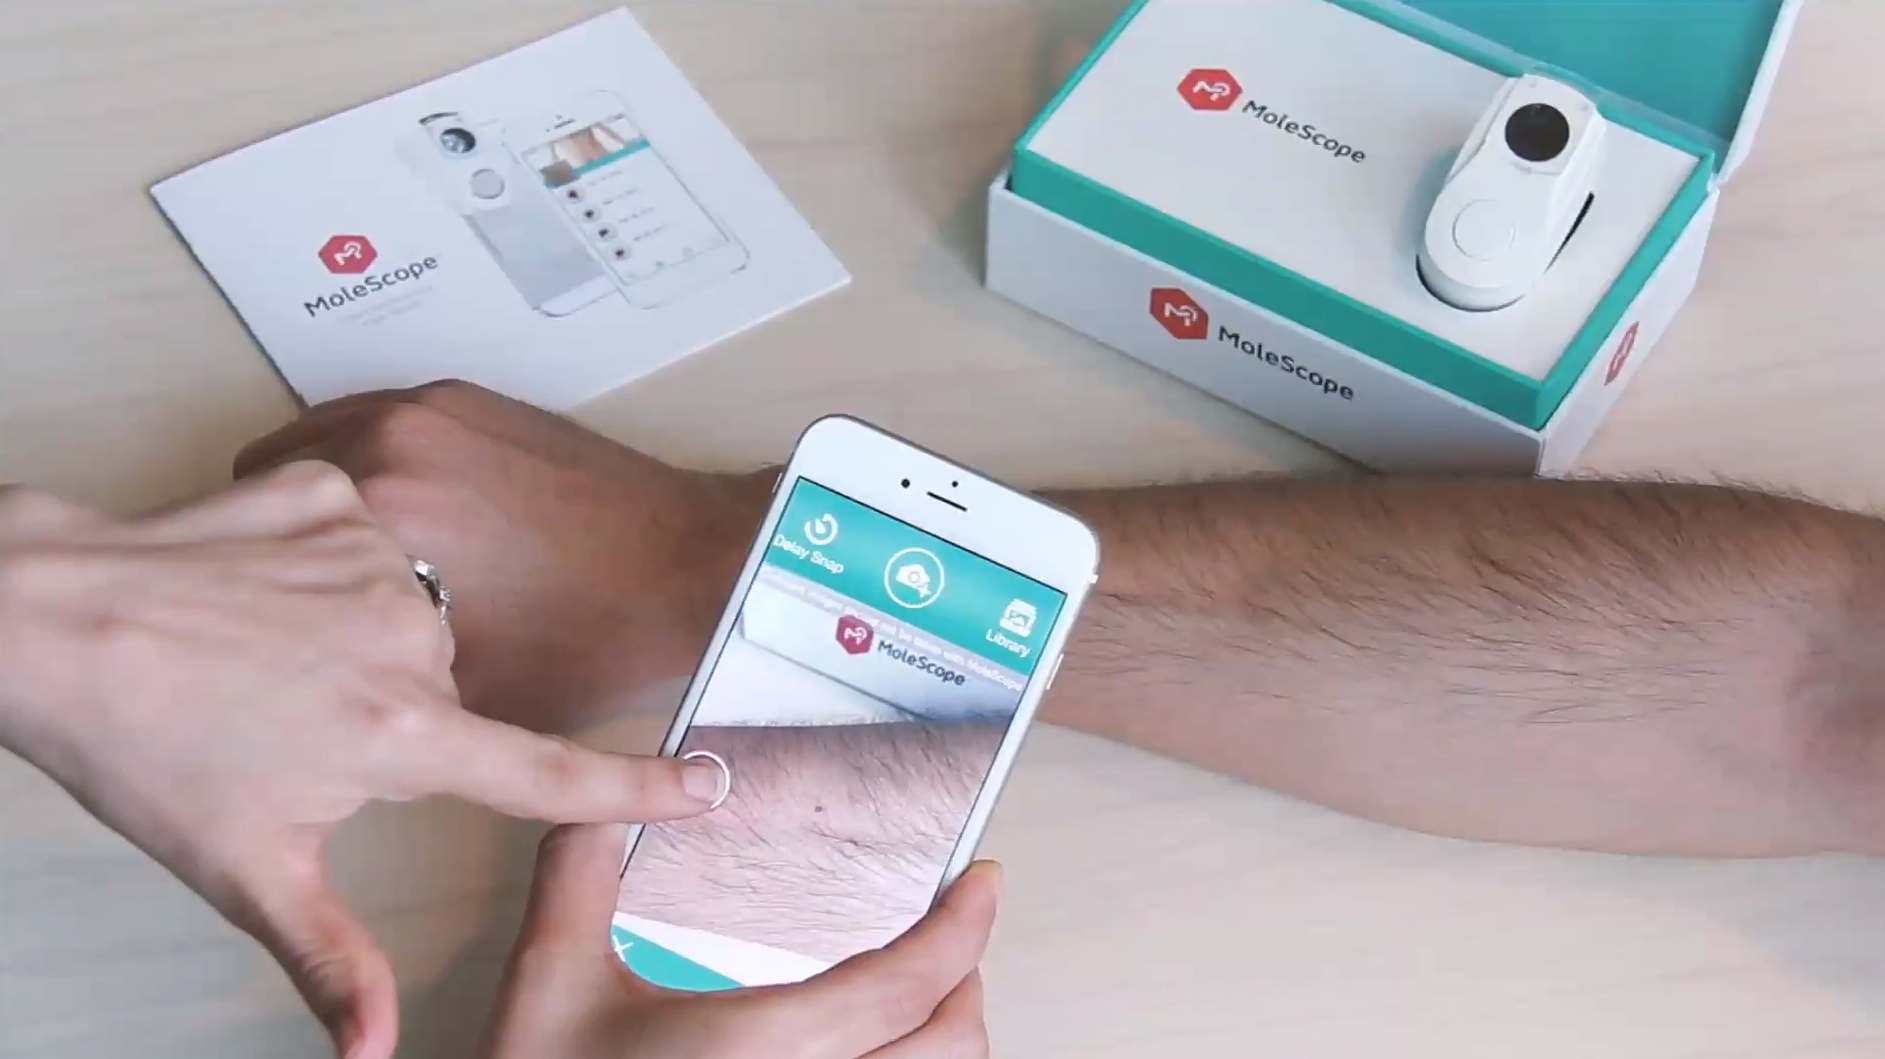
- Take a clear image approximately 10-15 cm away from your skin by tapping the
button. You also have the option of uploading an image from your camera's gallery by tapping the Library icon in the top right corner.
- You have the option of cropping the image by dragging the four corners of the white box. Alternatively, you may retake your image by tapping the
icon. When happy with your image, tap the Check Mark.
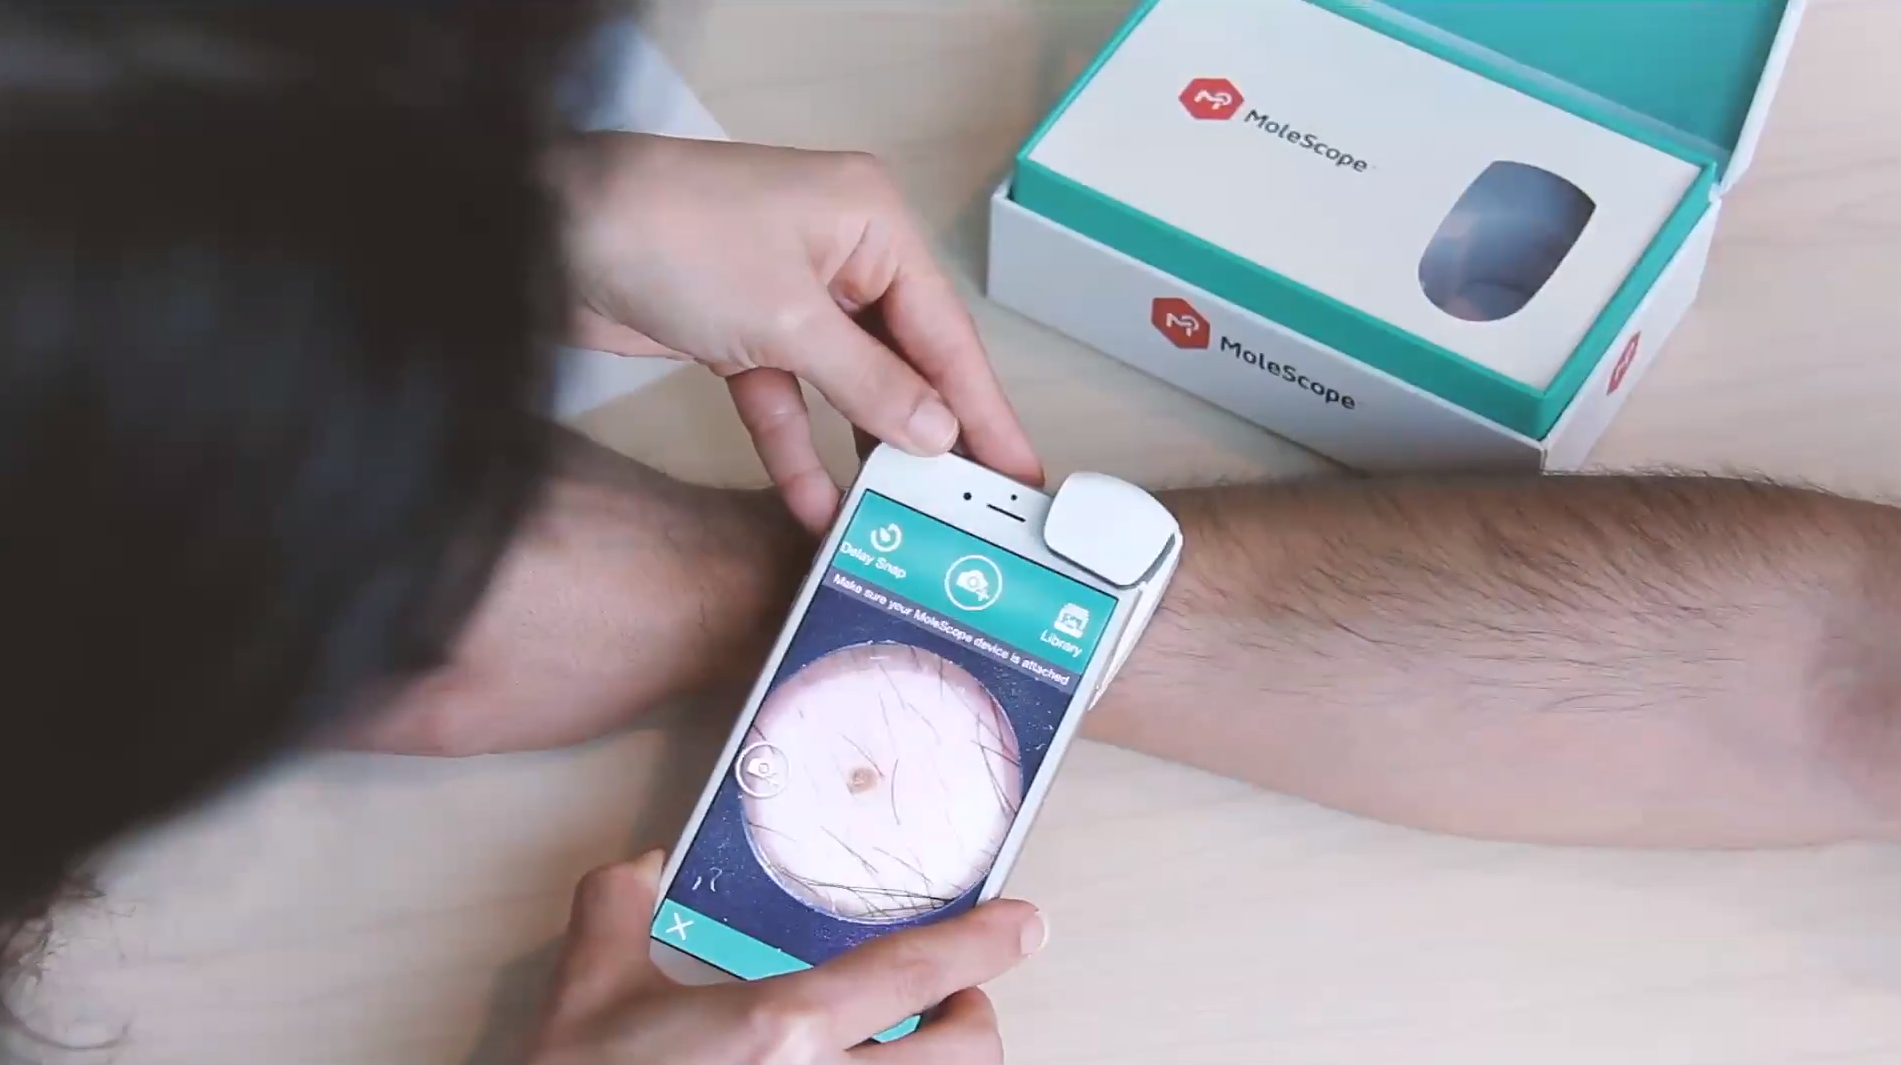
- Next, if you are submitting images of your moles you have the ability to add dermoscopic images by tapping the
icon in the bottom right corner.
(*This step is not typically required for general dermatology conditions such as eczema, rosacea, or psoriasis). - Attach your mobile dermoscope (such as MoleScope) to your smartphone and turn the light on. Apply a few drops of a liquid media (such as hand sanitizer) to your spot and ensure the area is covered. Gently press the dermoscope to your skin, and when the image is focused tap the
button to take an image.
- You have the option of cropping the image by dragging the four corners of the white box. Alternatively, you may retake your dermoscopic image by tapping the
icon. When happy with your image, tap the Check Mark.
- All of your images for that spot profile will be visible in the top left corner.
To learn how to submit a spot for consultation, click here.
Android
- Select MoleBox from the main menu.
- Select a spot from your list. To learn how to first add a spot click here.
- To add your dermoscopic image, tap the
icon. If you haven’t already, you will be prompted to add your serial device number (optional).

- Apply a few drops of a liquid media to your spot (your device comes with hand sanitizer for this purpose) and ensure the area is covered. Gently press the MoleScope to your skin. When the image is focused, take a picture.
- To take an overview image, tap the camera icon.
- Be sure to have good lighting, and take a clear image from approximately 10-15 cm away from your skin for the best results. You also have the option of uploading an image from your camera's gallery by tapping the Library icon.
- You have the option of cropping your image by tapping and dragging the four corners of the square around the image. If you would like to retake the image, select the
icon. When ready, tap the check mark.
To learn how to submit a spot for consultation, click here.